Manufacturing, Quality Assurance, Technological Innovations
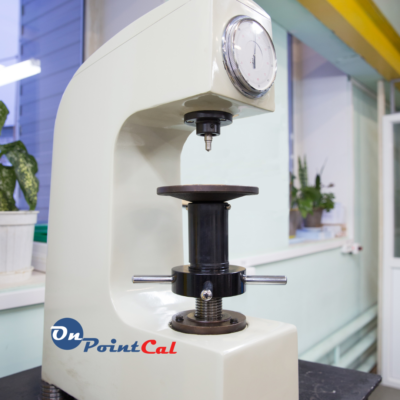
The Future of Hardness Testing: Embracing Closed-Loop Technology
In the ever-advancing world of metallurgy and engineering, precision and accuracy reign supreme. In hardness testing, closed-loop metallurgical hardness testing emerges as the gold standard. Join us, OnPointCal—an ISO 17025 accredited calibration laboratory, as we delve into the benefits of this groundbreaking method.

Understanding Closed-Loop Hardness Testing
This innovative approach automates the loading sequence with feedback control. Instead of varying manual force application, the closed-loop system consistently monitors and adjusts force for uniform results.
Five Key Advantages of Closed-Loop Hardness Testing:
- Precision Like Never Before: Automated processes reduce human error for consistent outcomes.
- Quick Turnaround: Get speedy insights without compromising on accuracy.
- Versatility Across Metals: Catering to everything from alloys to pure metals.
- Long-lasting Equipment: Reduced wear and tear due to consistent force application.
- Real-time Analysis: Immediate feedback ensures every test’s quality.
Industry-wide Revolution
From aerospace and automotive to construction and electronics, closed_loop hardness testing paves the way for material innovation and safety.
Engineers, Take Note
Adopting closed_loop hardness testing is not just about staying updated; it’s about ensuring top-tier results that drive innovation and set the benchmark.
OnPointCal: Pioneering Precision
Looking to adopt advanced hardness testing? Partner with OnPointCal, the ISO 17025 accredited calibration laboratory. We’re not just about calibration; we’re about pioneering precision.


